Keyframe Tangents and Interpolation
When we set keyframes in the Pose Editor or the Sequencer, we are creating poses at specific points in time. This could be the rotation of an elbow, the position of a hip, the amount of a sneer or the position of the camera, etc. In all of these cases we can also specify what happens between the keyframes. This is known as keyframe interpolation.
Smooth Interpolation
Let's start with a simple example.
Let's say you move the model's hand up and down a couple of times, setting keyframes in the timeline as you go.
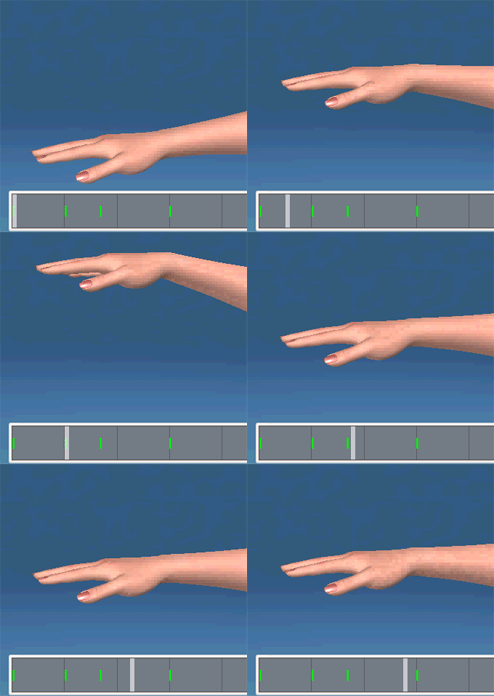
By default, we will see smooth interpolation between the keyframes. This is essentially drawing a smooth curve as illustrated below. The purple dots are the keyframes and the short lines are the tangents which indicate the direction of the curve at each keyframe. The hand animation shows what this will look like on your model.
Handy tip: Where the curve is close to horizontal that is where the object is moving slowly. Where the curve is steep there is a lot of movement or speed. If the curve is flat there is no movement.
This actually looks pretty good, with one exception. The last two keyframes are the same so you would expect the hand to stay in the same place between them. Because the curve is being smoothed out it is introducing unwanted motion between the third and fourth keyframes. This might not look too bad here but it can be very annoying and it happens a LOT. Imagine if the hand was sitting on a desk? You would see it dipping into the desk at the end of the animation.
Linear Interpolation
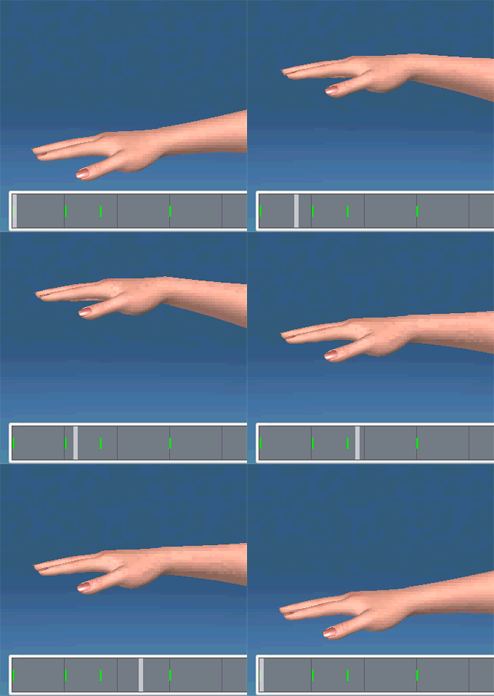
Let's look at linear interpolation for a moment. Linear interpolation is just a straight line between keyframes. The hand will go directly between the four positions at a constant speed.
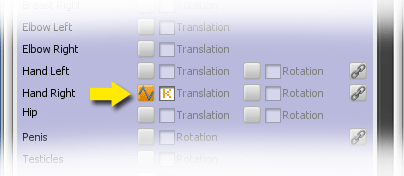
Clicking the little “tangent” button next to the hand in the animation panel will change the tangent type to linear. For this example I did that for all of the keyframes.

What's the drawback of this? The motion will look very robotic and stiff. People don't move like that. The hand will stay on the desk though!
We have control over the tangents at individual keyframes so we can fix this pretty easily. If we go to the first two keyframes and change the tangent type to “smooth” we will have the best of both worlds. When you change the tangent for a specific keyframe it affects the curve between that keyframe and the one following it.
Flat Interpolation
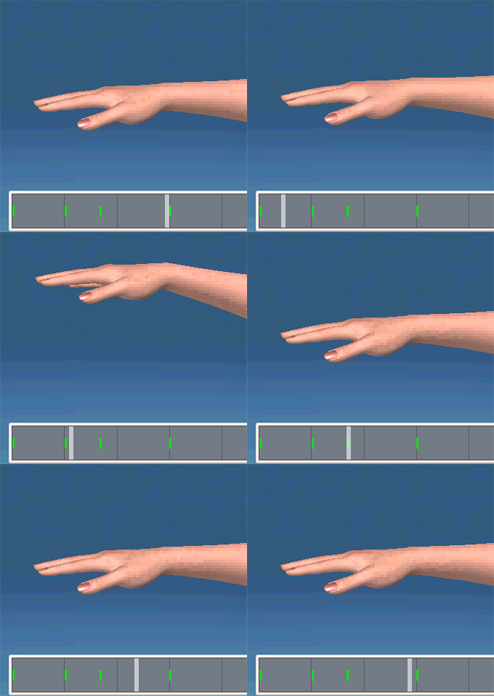
The last type of interpolation is called “flat”. With this type the tangent will always be flat or horizontal. The result is that objects will go slowly when they are near a keyframe and quickly when they are between frames. This is known as “easing in” and “easing out”. A nice side benefit of flat interpolation is that when two keyframes have the same value (like key three and four in our example) they will stay steady between the keyframes.
Here's what the curve and hand look like for flat interpolation.
Now go forth and animate!


