Modifying Outfit Textures
Overview
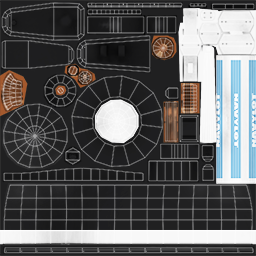
Textures are image files that are used to “skin” the 3D models in the scenes. Every object in the scene has a texture associated with it. This page will give you some background and an overview of the process.
show a few sample outfit mods here with credits to the creators «<
Regular Textures
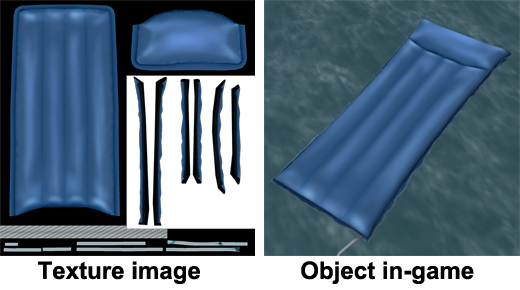
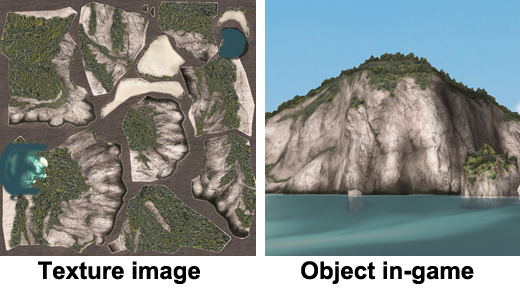
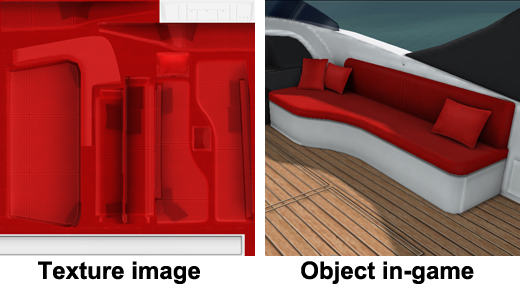
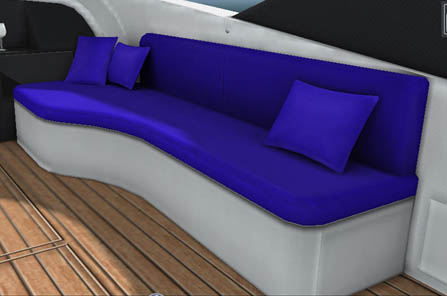
For the most part the textures are basic color images that get wrapped around the 3D geometry in the scene. Here are some typical examples.
Special Textures
Installing Texture Mods
Step Four: Modify a Texture
- Look at the textures that were unzipped in the previous step and pick one to modify
- Run your image editor (E.g. Photoshop, Gimp, etc)
- Load up the image and make some changes (there is a full tutorial on this under texture mod tutorial
- Save it over the original image
Tip: You can always get the default images out of the .zip archive file in the “mod” folder if you need them Tip: The zip file contains the source .PSD (Photoshop) files for the textures. These will not be unpacked by installing the mod. Advanced users may want to mess with these.
Step Five: View your new texture in-game
- Load up the scene. It will show up as a clone of the original set with the name of the texture mod
- Locate the object with your modified texture
Tip: Hit ALT+R to reload the texture after you make additional changes. This allows you to make adjustments without restarting the game.
Step Six: Rinse and Repeat
Now that you have the workflow down you can continue to edit as many of the textures as you like. You can use ALT+R to reload the textures in the scene so you don't have to exit and restart. That makes it really handy to try different things and see the results.
Tips and Tricks
What are those .txf files for?
NOTE: Be careful if you edit the txf files. If you mess them up you will get unpredictable drawing behaviour. You can always revert to the file in the zip archive if you need to
The txf files determine how the texture will be blended in the scene. If you are familiar with Photoshop blending modes or using shaders in 3D software this will make some sense to you. Otherwise, here are some quick things you can try.
You can edit the txf files with a simple text editor like notepad. Don't try using something fancy like MS Word or it will add extra crap into the file.
| What You See | What You Get |
|---|---|
| “RGB_888” “Opaque” | Straight texture. No blending. |
| “RGBA_8888” ”AlphaBlend“ | This image requires an Alpha channel that will be used for transparency. Good if you want to make some fancy stained glass windows |
| “RGB_888” “Add” | pixels in the image will be added to anything they are in front of. This will typically make things brighter. |
| “RGB_888” “Multiply” | pixels in the image will multiply with anything they are in front of. Dark pixels will make things darker. White pixels will have no effect |
| “RGB_888” “Subtract” | pixels in the image will subtract from anything they are in front of. This will typically make things darker |
Creating tiling images in Photoshop
Some textures like the water need to tile seamlessly in both directions. There's a tutorial on making tiling textures here.
Creating partially transparent images in Photoshop
Here are two quick and simple techniques to create partially transparent images in Photoshop:
- Use the Eraser tool and set the opacity to about 10%. Then paint away at your image.
- Change the Opacity of the entire layer in the Layer panel.
Ensure that Image→mode is set to RGB color and save your image as a .png file. This should preserve the transparency information.
You will also need to change the matching .txf file to be “RGBA_8888” ”AlphaBlend” if it isn't already.
Stuff to watch out for
- Don't change the base name of any file (i.e. the filename without the extension). The names are important for the game to find the images you want to replace.
- You may change the size of the images to increase details, but the aspect of the image needs to remain the same. Furthermore, all images need to have width and height to be power of 2 (i.e. 2, 4, 8, 16, 32, 64, 128, 256, 512, 1024, 2048, …) The maximum size is limited by the graphics card (and the graphics card memory) and must not exceed 2048. We recommend to leave the image size as it is (or by max double width and height to be on the safe side).
- Supported file formats are: JP2 and PNG. You may change the fileformat from jp2 to png or vice-versa. It's just a matter of compression and filesize (which should be held small). So if you are kind, try both formats and use the one with smaller filesize.
Sharing your new texture set
When you're ready to share your texture set with the community go to Sharing your texture set
Important Notices
- The uploaded zip file gets checked for its content. Do not include any additional files and/or folders except the modded images and .txf's to avoid that your upload gets rejected.
- Your mod will get checked by Gamerotica staff. As long as there is nothing offensive or illegal the mod should get approved to share with the community.
- Do not use copyrighted material for modding to prevent legal troubles for yourself and/or Gamerotica.
