This is an old revision of the document!
Keyframe Tangents and Interpolation
When we set keyframes in the Pose Editor or the Sequencer, we are creating poses at specific points in time. This could be the rotation of an elbow, the position of a hip, the degree of a sneer or the position of the camera, etc. In all of these cases we can also specify what happens between the keyframes. This is known as keyframe interpolation.
Let's start with a simple example.
Let's say you move the model's hand up and down a couple of times, setting keyframes in the timeline as you go.
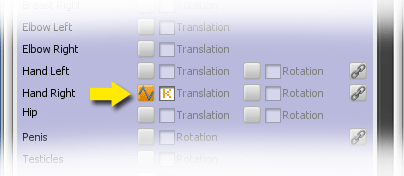
Then you click the little “tangent” button next to the hand in the animation panel to change the tangent type to linear.

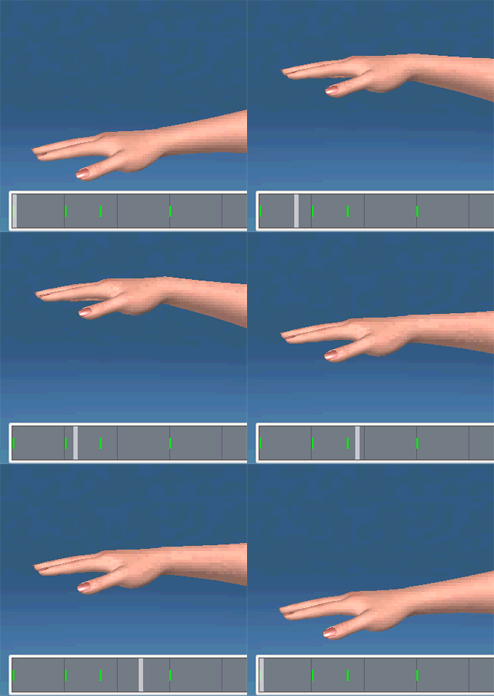
This is how the animation will be interpolated.


 OK - what this this mean? It's actually pretty simple. Linear interpolation is a straight line between keyframes. The hand will go directly between the two positions at a constant speed.
What's the drawback of this? The motion will look very robotic and stiff. People don't move like that.
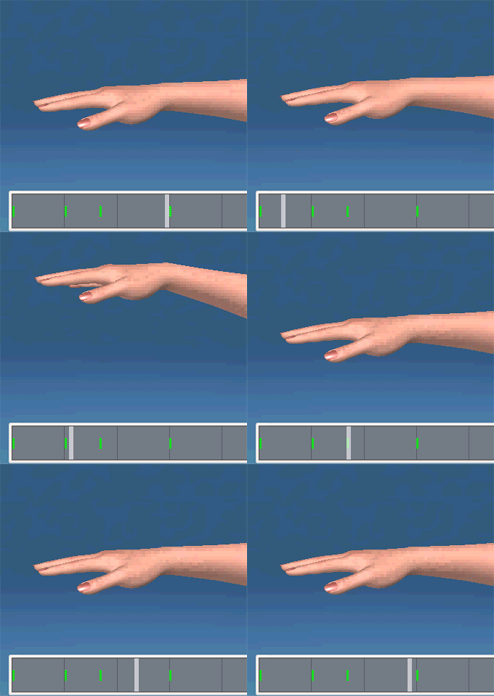
Let's try the next type of tangent, smooth. This is actually the default.

Now this is a lot better. The hand looks much more natural .. almost. For keyframes 1, 2 and 3 this is looking great. However, between keyframe 3 and 4 we wanted the hand to stay at the same height. What is happening instead is that the smooth interpolation is causing it to “drift” between those keyframes. This is a pretty common situation and there are a couple of solutions for it.
One solution is to change the tangent type at the problem keyframes to linear to flatten it out.
When we create animation curves in the Pose Editor or the Sequencer, we can choose


