Table of Contents
How to enhance toy edit with textures
Overview
The Toy Editor allows users to create custom toys that can be used in the game. Modifying the base color and reflection map can be done easily in the editor. The main toy texture can also be replaced, allowing you to create a wide variety of toys and props.
The base toy texture
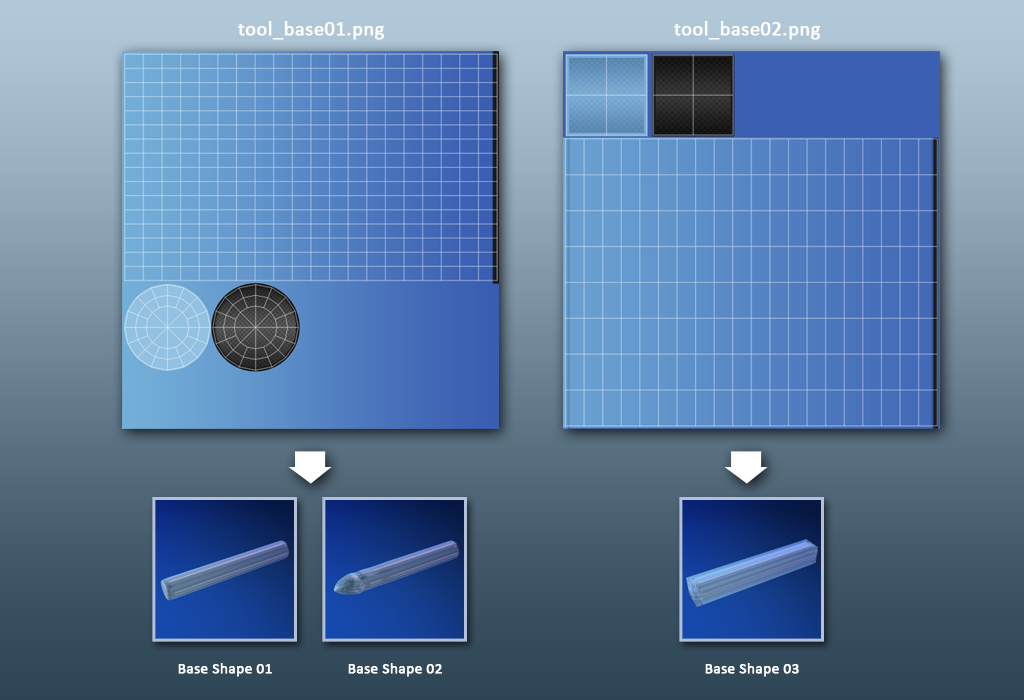
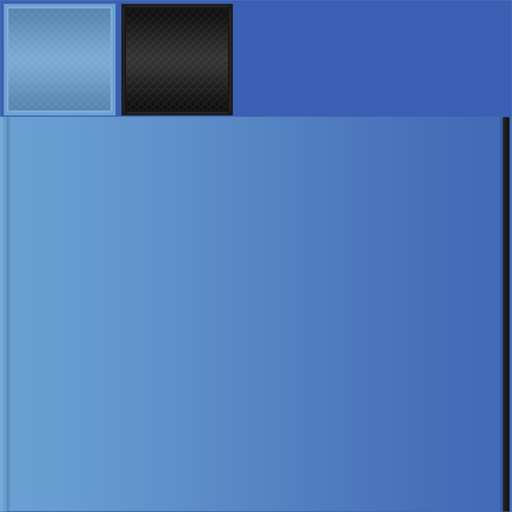
Before thinking about modding the toy's texture, download the toy's default texture, square toy's default texture.

The Toy Textures Folder
As long as you didn't use the Stealth Mode during installation, a new entry in the start menu should be available for you. Just browse through Start > Programs > thriXXX > [game name] and click on Open ToyEdit folder. A new explorer window opens, and this folder, right there, is the one and only location to put new images to use on your custom toys.
Changing the Toy Texture
- Launch the game and enter the “Toy Editor” by clicking its button on the game's startscreen.
- On the left side, like in the customizer, there's a panel, with lots of sliders changing the shape of the toy … scroll down to the very bottom of that window and click the Refresh Lists button.
- Now you should be able to apply the image by click-n-searching using the arrow buttons right to Base and Reflection.
UV base layout overview