How to download and install items from Gamerotica? - CP
When becoming a member of one of our sites an accompanying Gamerotica Account is created for free. The credentials used to start the game, will also allow basic access to www.gamerotica.com
This basic account allows members to participate in forums and preview over 100,000 + 'user generated content' (UGC) shared items like and view; model profiles, screen shots, videos, outfit textures.
To collect/download then install and activate UGC in-game from the community, you must purchase the community 'connector' in the SexShop.
Once the 'connector' is installed full access to ALL the uncensored unlimited content in the community is enabled and content can be added to the game to enhance the experience!
There is a video tutorial on installing a new character model from Gamerotica here.
There is a video tutorial on installing a texture mod from Gamerotica here.
Step One: Log Into Gamerotica
- Login into Gamerotica
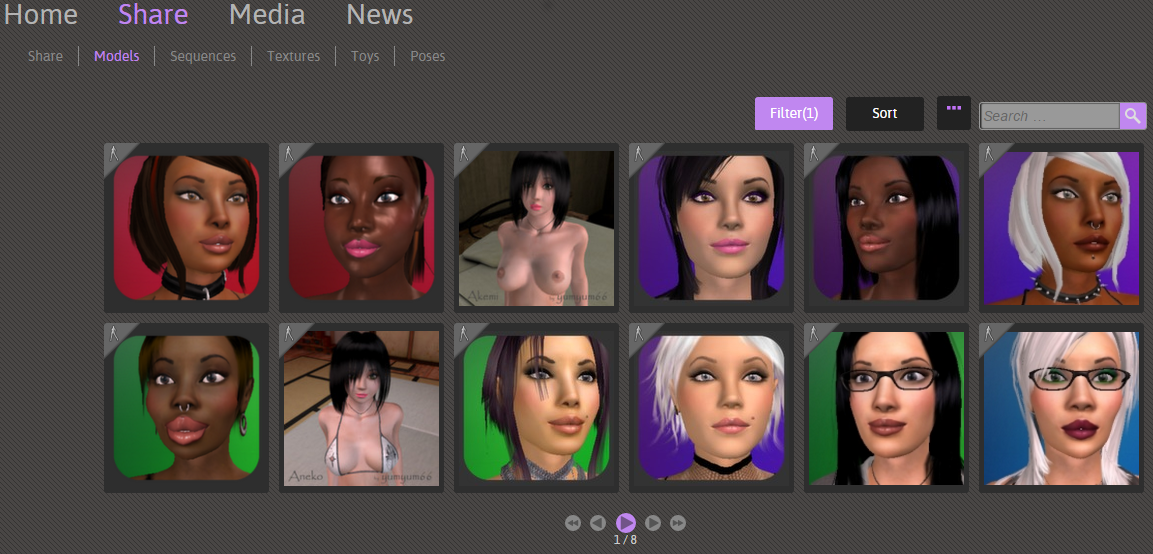
- Search Gamerotica under the Share tab on main navigation bar for an item you like.
- NOTE: Searches can be filtered by keywords, creator, item name, base model, description and gender as well as game type.
Step Two: Find &Download Mods
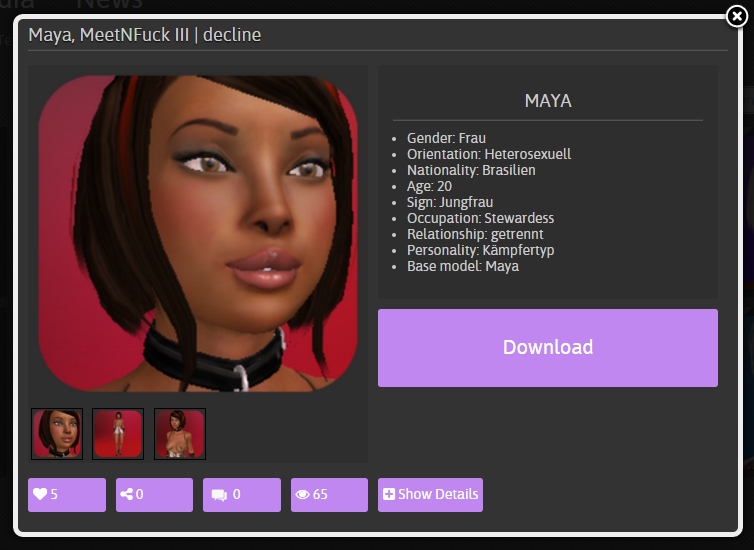
- Click on an item of your choice for item download details.
- Click on Download. Don't forget you can tag favorites and save them to your collection by clicking on the heart top right hand corner.
- Please vote for your favorites to let the contributors who shared their work know that their efforts are appreciated!
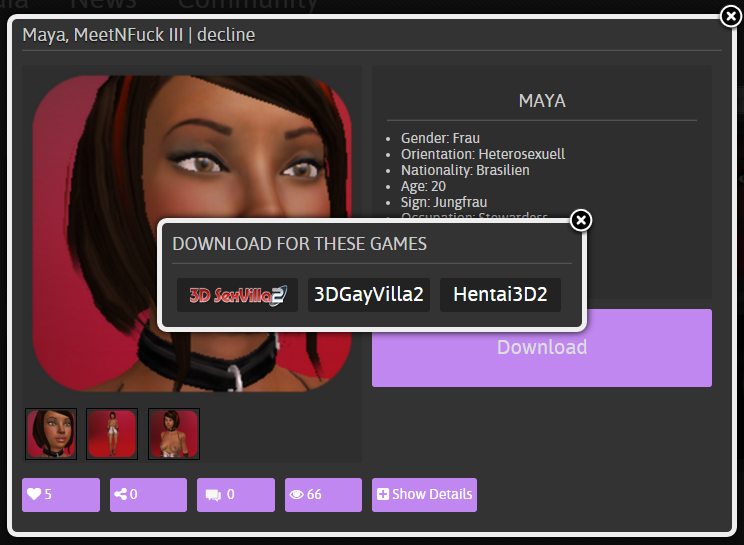
- Click on Download Now (name_of_game)
- The Download File Manager for your particular browser will save file locally.
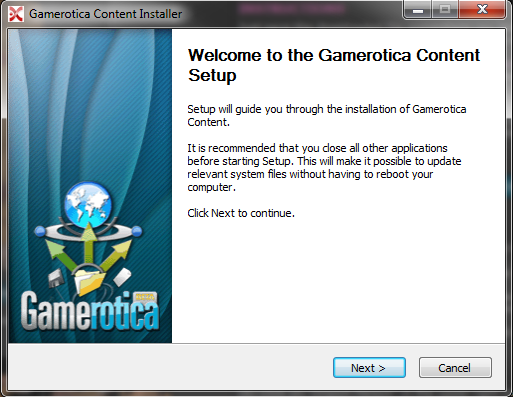
- Start installation of the download as you would any other installer and follow prompts.
Step Three: Install the Mod
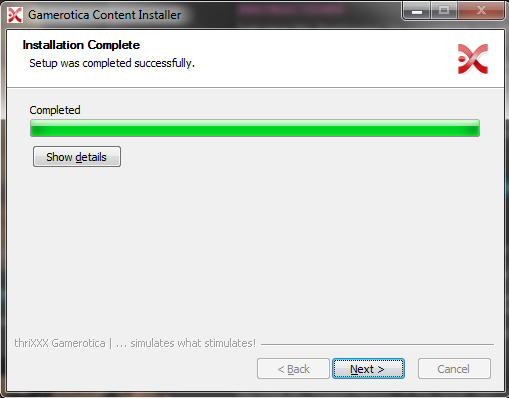
- Execute the downloaded file from where you saved it (this file is a little custom installer that helps you install the content in the right folders)
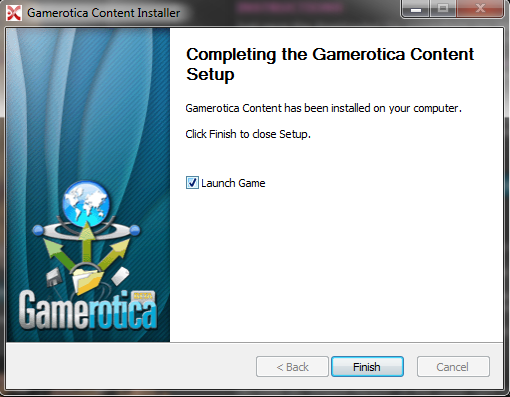
- At the end of the installation you may start your Game and use the new item or continue downloading. If you use installer while game is running and open you will have to close and restart the game for items to show up in inventories.
Step Four: Activate Mod In-Game
Activating your mod depends on the type of mod you are installing.
Texture Mods (clothes, sets, hair, skin)
- Start your game and “Login”
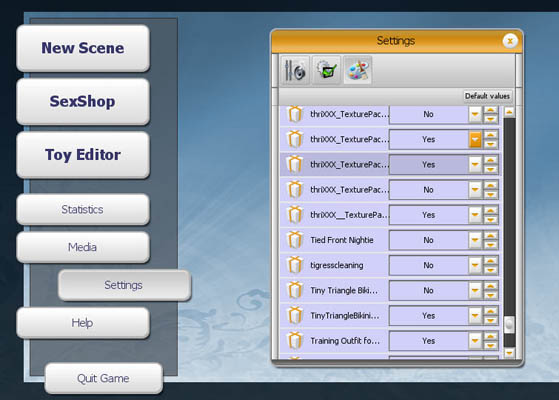
- Click on “Settings”
- Select the far right button on the top with the brush and palette. This is the “MOD” tab.
- Within the MOD tab your current installed MOD's can be activated by selecting “YES”
- Pick a model and go into the customization menu. Cycle through the (outfit/hair/skin) selection until you find the modded texture.
Pose Mods
- Start your game and “Login”
- Start up a game mode and open the SexBrowser
- Choose the “Poses” tab in the SexBrowser
- The new pose should be under the Community folder
Model Mods
Tip: you don't actually need to use the correct base model. You can load custom faces onto any model, male or female! Most of the female models will look correct, if she doesn't then try the correct base model.
- Select the model you would like to download from the community
- Figure out which “Base Model” was used to create this model
- The “Base Model” is shown in the model bio on GE
- The “Base Model” name is also in the first part of the downloaded file name. (E.g. model_base-Madison_kitty_fumummusc_GameroticaAutoInstall.exe)
- Start your game and “Login”
- Select “New Scene” and “Choose Sexmate” (Myself, Sexmate or 3SomeMate)
- Select the base model or one of her clones from the list and hit the “Clone” button to create a new clone. Note: When you select a clone it will show her basemodel underneath her name in the details on the right. Original (non-clones) will just show the name.
- Click OK to accept the selection
- Enter the Customizer (Customize)
- Click the “Import Person” button in the upper right toolbar to import the downloaded model (it's the little yellow folder)
- You should see a list of models with the basemodels listed underneath them. (Note: at the time of this writing there is a bug where the description is listed under the image. This should be showing the model name instead. The newest model you imported should be at the bottom of the list)
- Select the model from the list. You should see it update on the model in the editor. Click “OK” when you're done.
- Tip: It's a good idea to click the “Personality” tab in the upper right of the main editing panel. Change the model's name to match the one that you downloaded. You can change the other info as well if you like.
Toy Mods
- Start your game and “Login”
- Select “New Scene” → “Toy Editor” (assuming you have purchased the Toy Editor option)
- Click the little yellow folder button and then click “Community”
- You should see the toy mod in the list. Load it up.
- Click the save button (the floppy disk icon) and save the toy in one of the local slots
- Start up a game mode and open the SexBrowser
- Select the “toy” button at the top of the SexBrowser
- You should now see the modded toy in the list
Sequence Mods
- Start your game and “Login”
- Select “New Scene” → “Sequencer” (assuming you have purchased the Sequencer option).
- Pick the location that the sequence was built in. Sequences are location specific so it won't show up if you pick the wrong location.
- Click the “start” button
- Click the “Open Sequence” button in the upper right toolbar to load the sequence (it's the little yellow folder)
- Click the “community” button
- The sequence should show up. If you don't see it here then double check that you have installed it correctly and that you are using the location that it was created for.
