This is an old revision of the document!
Using the FaceMate Editor
Required SexShop package
You need Facemaker in the SexShop to be able to use the FaceMate Editor.
Where to find the new FaceMate?
Customize your model and click on the Facemaker tab.
IMPORTANT: Before using FaceMate you must agree to the FaceMate 'Terms of Service'.
No copyrighted images are allowed to be used to create FaceMate 3D Avatar Models.
Choosing Personalization Photos
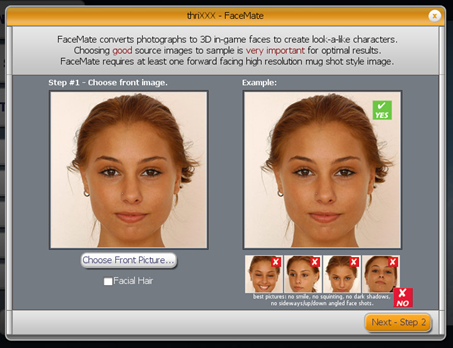
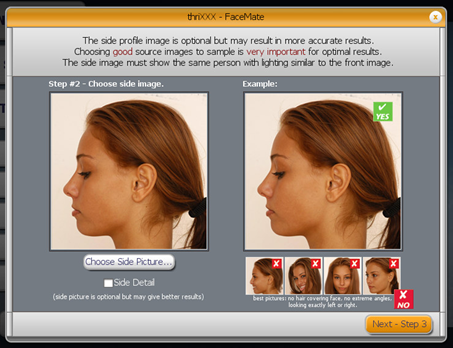
To create a FaceMate you are required to submit a) one front and b) one OPTIONAL side profile photos.
Follow these instructions and guidelines closely to optimize results.
Important note about 'OPTIONAL' side profile shots
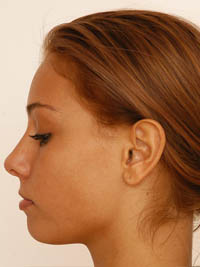
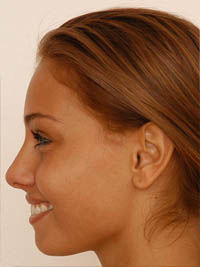
- A side profile image may create better results but is not required to use FaceMate.
- A side profile will create more accurate profile results for nose , chin and jawline shapes, and provide extra detail for skin tones for facial feature texture mapping.
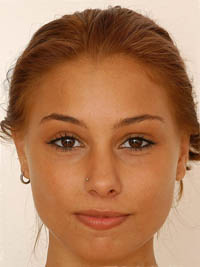
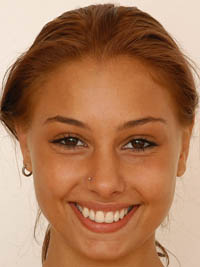
NO SMILE - Faces must have the mouth closed and should be in a natural relaxed pose.
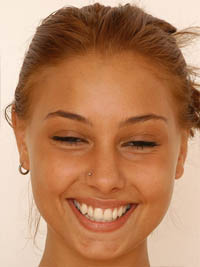
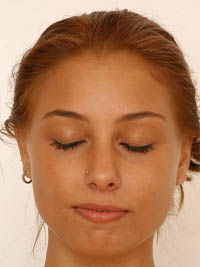
NO SQUINTING - Eyes must be open and looking straight ahead.
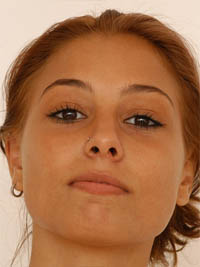
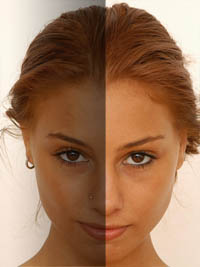
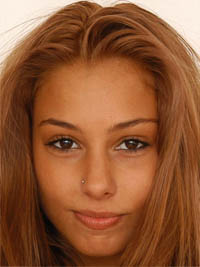
NO SHADOWS - The entire face must be in the photo with no strong daylight shadows or anything like hair obscuring any part of the face. Hair should not cover the forehead or any part of the face.
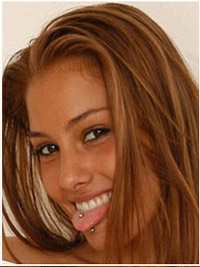
FaceMate Photo Submission Guideline Don’t's
Photos below are examples of images that will produce poor results or will not work at all
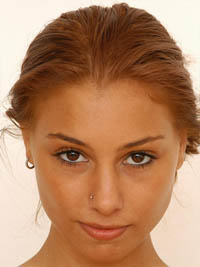
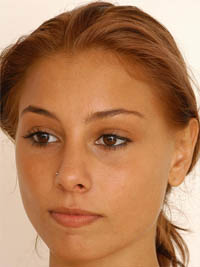
To ensure good results the source image chosen and submitted should be optimal and should not be similar to the following examples:
The face should be at least 500 pixels high in the image with relatively high DPI if a scan of an printed image. Save your photos in the JPEG (JPG), BMP, TIFF (TIF) or TGA file formats.
The size of the texture image is automatically determined by the number of pixels in the face area, so use a large source image if you require a large texture image. Max 4096 x 4096.
Note: Drawings of faces and Black and White may not yield good results. Sorry Furry fans pets don’t really work well either!
FaceMate Marker Placement
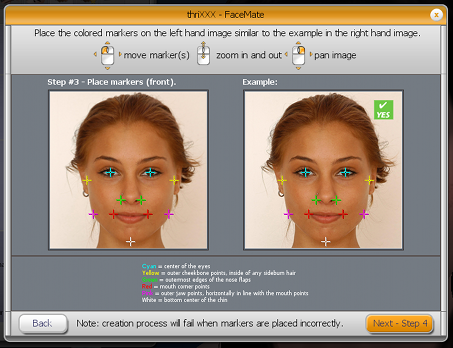
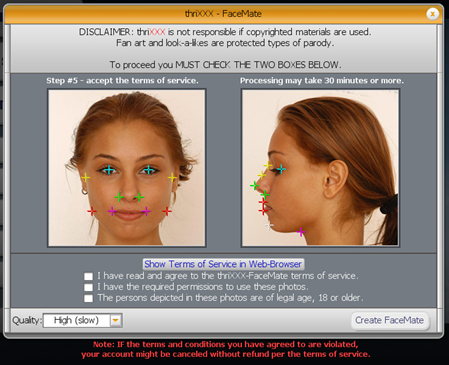
Colored markers need to be placed on specific areas and parts of the face to be abel to process the image. They are color coded for convenience
- Blue Markers = Centre of Eye Positions
- Green Markers = Left/Right Side of Nostrils Positions
- Yellow Markers = Left/Right Ear Canal-Cheek Positions
- Pink Markers = Corner of Mouth Positions
- Red Markers = Left/Right Neck Meets Jawline Areas
- Orange = Tip of Chin
NOTE: Proper cross hair marker placement is CRITICAL for FaceMate to be effective. If markers are moved to far from intended zone areas may change color!
Markers out of range can cause a rendering error message to appear.
Markers can be moved as an entire set using the mouse and the following techniques.
- FINAL MARKER PLACEMENT = Move over individual positions & drag to positions to fine tune
- RIGHT MOUSE CLICK = Scale all points together to zoom in or out
- LEFT MOUSE CLICK = Moves all points together to align to face
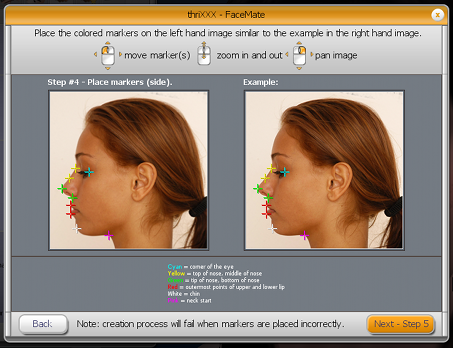
A similar process of marker placement is required if an optional side facing profile photo is to be processed.
Once markers are in their relative and correct positions the final rendering step can be processed.
Agreeing to FaceMate Terms of Service & Disclaimer
DISCLAIMER - ThriXXX is not responsible if copyrighted materials are used NOTE: If the terms and conditions you have agreed to are violated, your account will be canceled without refund per the terms of the user agreement.
TO PROCEED YOU MUST AGREE TO & CHECK THE THREE BOXES
1) Link to and Read Terms of Service Check box 'You have read and agree to the FaceMate terms of service below to use this feature,
2) Confirm Copyright Clearance Terms You have the required permissions to use this photo,
3) Age Verify for 'Virtual 2257' Clearance The persons depicted in these photos are of legal age or 18 or older
NOTE: If the terms and conditions you have agreed to are violated, your account will be canceled immediately without question and without refund per the terms of the terms of service user agreement.
Rendering Options
Under Construction

